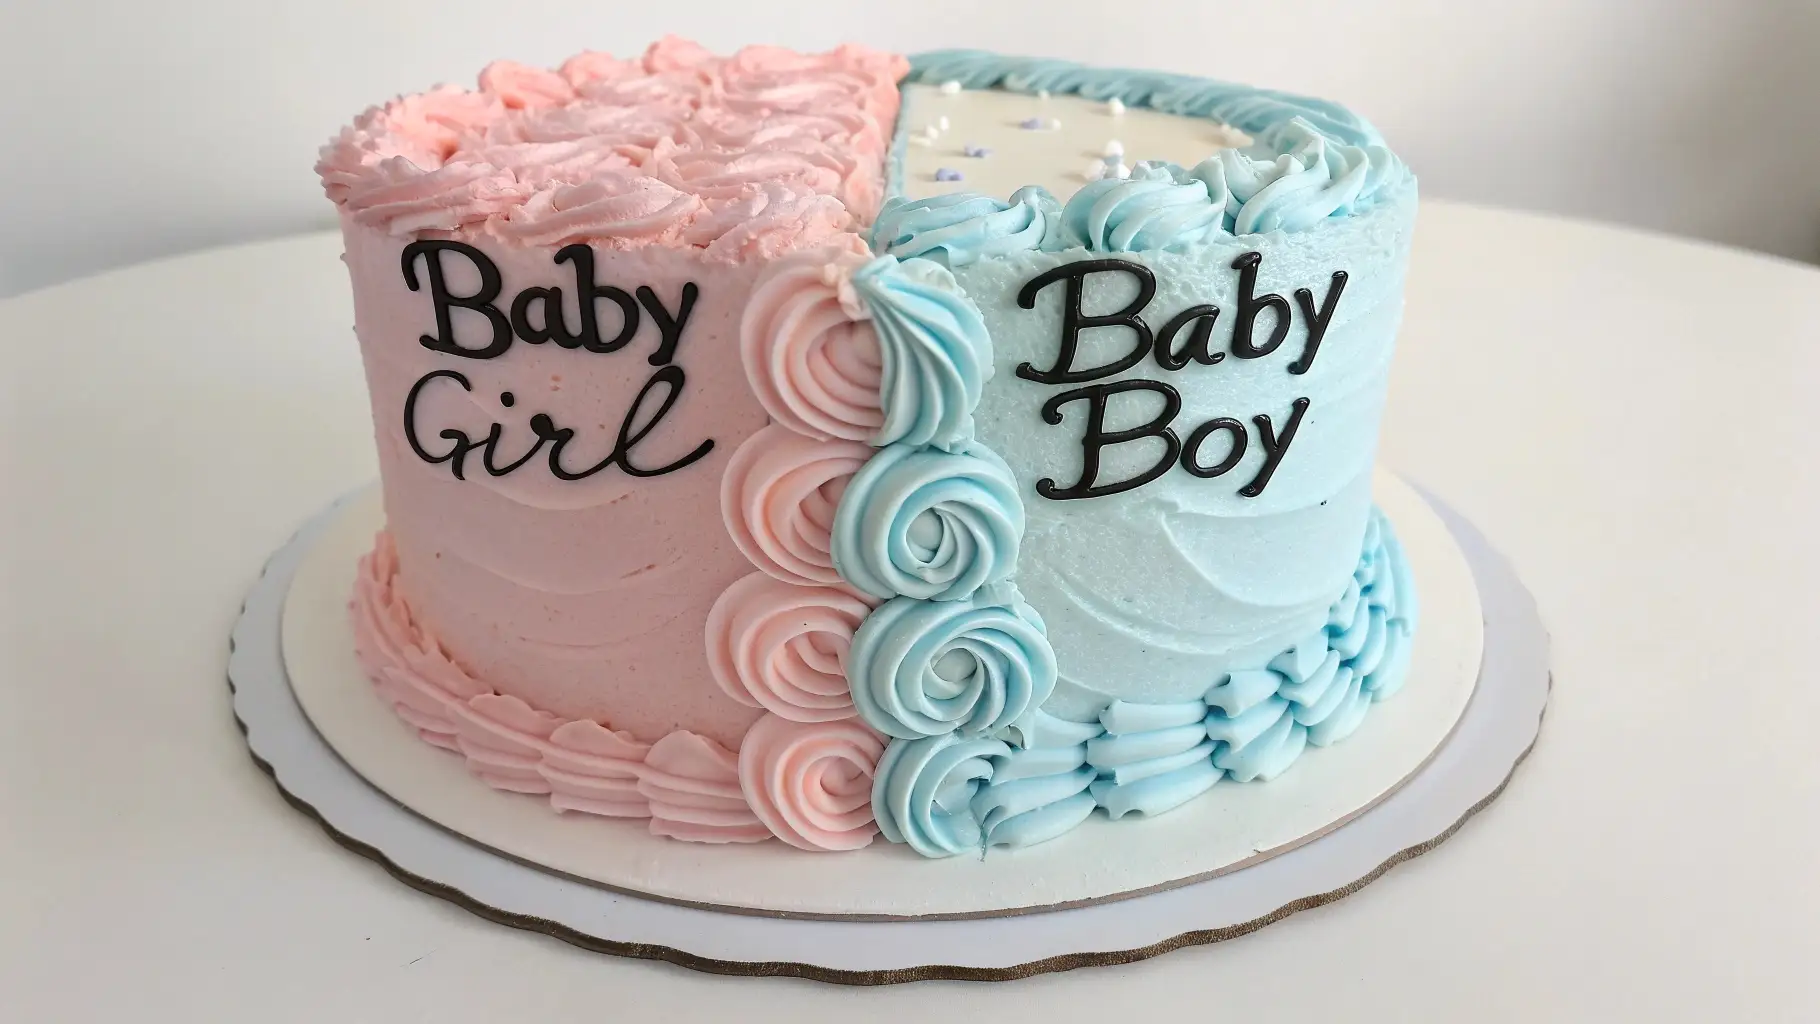
Planning the perfect baby shower celebration? What better way to impress your guests than with a stunning and delicious baby shower cake! Whether you’re a seasoned baker or a beginner in the kitchen, this ultimate guide will help you create a showstopper that’s both beautiful and memorable. From the moist, flavorful cake layers to the sweet, creamy frosting and eye-catching decorations, this recipe is designed to bring joy and sweetness to your special occasion. Ready to bake up a treat that will wow everyone?
Key Benefits of Baby Shower Cake
When it comes to creating the perfect baby shower cake, the benefits go far beyond just the taste. Not only will you delight your guests with a delicious treat, but you’ll also craft a centerpiece that brings your entire celebration together. Here’s why this baby shower cake recipe is a must-try for your upcoming event:
Memorable Flavor: This cake is designed to be both flavorful and moist. With every bite, your guests will experience the perfect balance of sweetness and texture, leaving them wanting more.
Visually Stunning: From the moment it’s placed on the table, this cake will steal the spotlight. With easy-to-follow decoration tips, you can create a masterpiece that fits your shower’s theme, whether it’s pastel hues or bold, vibrant colors.
Customization: The versatility of this recipe means you can personalize it to fit your style and preferences. Whether you prefer the timeless taste of vanilla, the decadence of chocolate, or something more unique, you can easily customize the flavor to match your preferences.
Easy-to-Make: Even if you’re not a pro baker, this recipe is simple and approachable, with clear instructions that guide you through each step. With a little patience and creativity, you can create a cake that looks like it came straight from a bakery.
By the end of this process, you’ll have a cake that’s not just a treat for the taste buds, but a stunning addition to your celebration. Ready to get started? Let’s gather everything we need and get set to create a show-stopping baby shower cake that will wow your guests!
Ingredients for Baby Shower Cake
The key to any great cake lies in the quality of the ingredients. For this baby shower cake, we’re keeping it simple but ensuring every component works together to create a deliciously moist, flavorful dessert that’s perfect for your celebration. Here’s what you’ll need:
● 2 ½ cups all-purpose flour
This forms the base of your cake, providing the essential structure it needs. Ensure your flour is measured correctly by gently spooning it into the measuring cup and then leveling it off for an accurate amount.
● 1 ½ cups granulated sugar
Sweetness is key! This amount of sugar will provide the perfect balance without being too overpowering, giving the cake a nice, subtle sweetness.
● 2 ½ teaspoons baking powder
A little help for your cake to rise! This ingredient ensures the cake is light and fluffy, giving it that soft, melt-in-your-mouth texture.
● 1 teaspoon salt
The salt works to balance the sweetness and elevate the overall flavor of the cake.
● 1 cup unsalted butter (room temperature)
The butter brings richness to the cake, keeping it moist and contributing to a soft, tender crumb. Be sure to soften it to room temperature for optimal results.
● 4 large eggs
Eggs act as the binding agent, ensuring that your cake holds together while providing structure and moisture.
● 1 tablespoon vanilla extract
This is a must-have for flavor. Vanilla adds warmth and depth to your cake, complementing the sweetness perfectly.
● 1 cup whole milk
Milk adds moisture to the batter, helping it blend smoothly and ensuring the cake has that ideal, soft texture.
● Food coloring (optional)
If you want to add a fun touch and match your baby shower theme, a few drops of food coloring will transform your cake into a vibrant, visually stunning treat.
● Buttercream frosting (recipe follows)
A rich and creamy buttercream frosting is the finishing touch to your baby shower cake. It adds flavor, moisture, and a smooth, velvety texture that’s perfect for decorating.
Pro Tip: For an even moister cake, try swapping some of the milk with sour cream or buttermilk. This subtle change gives the cake a slightly tangy flavor and a finer crumb, making it even more irresistible!
Now that you’ve got your ingredients ready, let’s move on to the next step: mixing up this delicious batter!
Instructions for Baby Shower Cake
Now that you’ve gathered all your ingredients, let’s get to the fun part—baking! Follow these simple steps, and you’ll have a beautiful, delicious baby shower cake ready in no time.
1.Preheat the Oven
Start by preheating your oven to 350°F (175°C). This ensures the oven reaches the ideal temperature, allowing the cake to bake evenly when you’re ready to put it in.
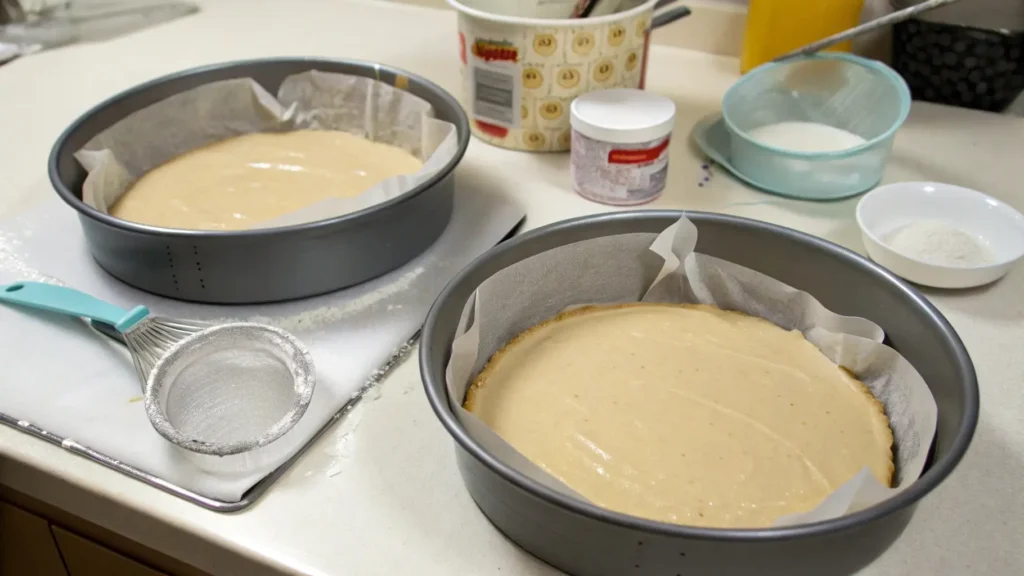
2.Prepare Your Cake Pans
Grease and flour two 9-inch round cake pans. If you want to ensure your cake comes out perfectly without sticking, you can also line the bottoms of the pans with parchment paper. This small step makes a big difference in the ease of removing the cakes later.
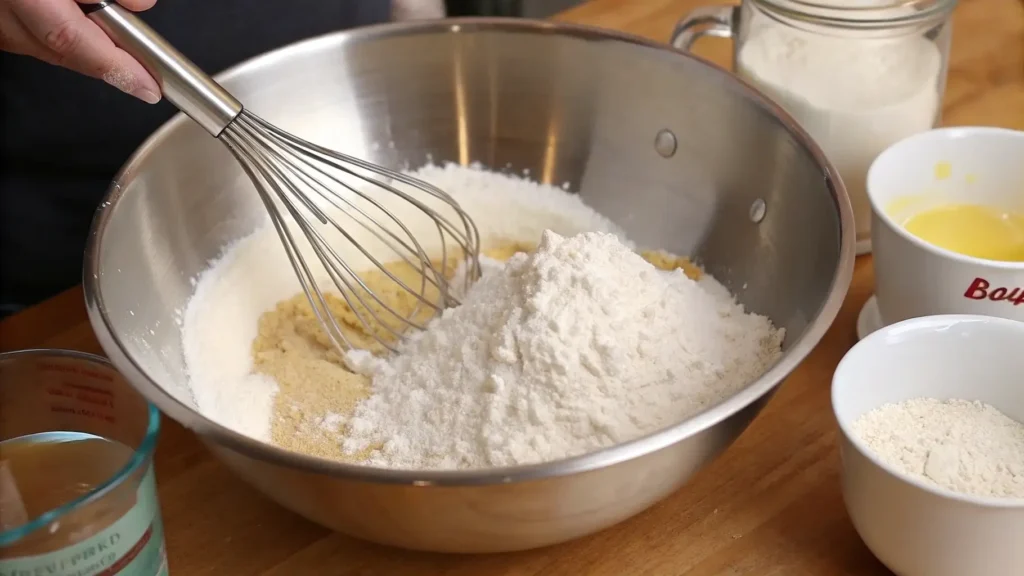
3.Mix the Dry Ingredients
In a large bowl, combine the flour, baking powder, and salt, whisking them together. This helps to evenly distribute the leavening agents and prevents clumps in your batter. Set this dry mixture aside.
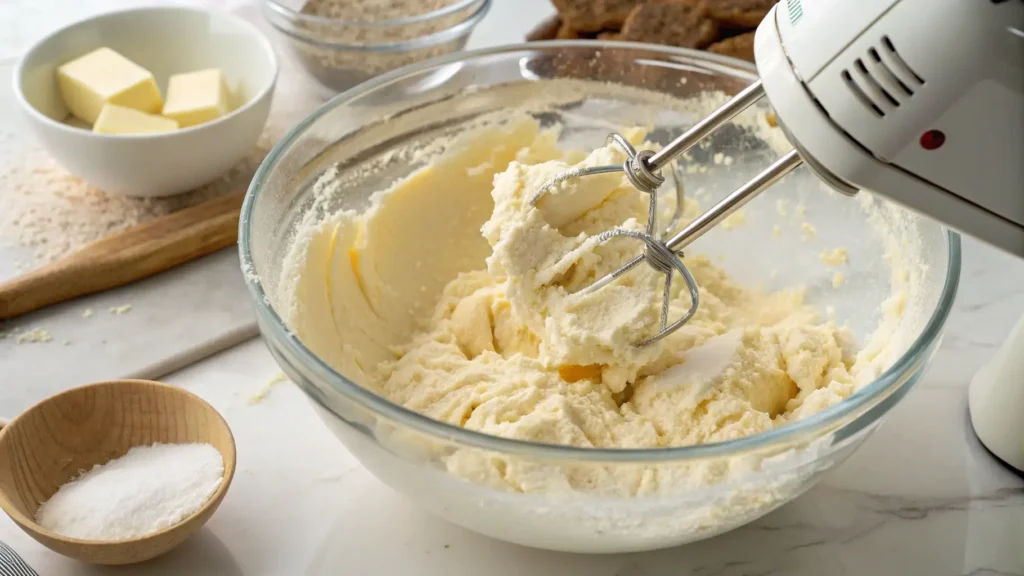
4.Cream the Butter and Sugar
In another large bowl, beat the softened butter and sugar together using a hand mixer or stand mixer on medium speed. Continue mixing for 3-4 minutes, until the mixture becomes light and fluffy. This step is key to achieving a light and fluffy texture in your cake!
5.Add the Eggs and Vanilla
Add the eggs one at a time, making sure each egg is fully blended before adding the next. Stir in the vanilla extract. The eggs help bind everything together, and the vanilla adds that warm, inviting flavor we all love.
6.Alternate Adding the Dry Ingredients and Milk
Slowly incorporate the dry ingredients into the butter mixture, alternating with the milk. Start with a third of the dry ingredients, then pour in half of the milk. Continue alternating until everything is mixed in, finishing with the dry ingredients. Be careful not to overmix—stir just until everything is fully combined.
7.Add Food Coloring (Optional)
If you’re going for a colorful look, now’s the time to add a few drops of food coloring. Gently mix until the batter reaches the desired shade. This step is perfect for coordinating with your baby shower theme!
8.Bake the Cake
Distribute the batter evenly between the prepared cake pans. Use a spatula to smooth the top of each layer. Place the pans in the preheated oven and bake for 25-30 minutes. Check for doneness by inserting a toothpick into the center of the cakes—if it comes out clean or with a few crumbs, your cakes are ready!
9.Cool the Cakes
Let the cakes cool in the pans for 10 minutes before carefully transferring them to a wire rack. This cooling period helps the cakes set and prevents them from breaking apart.
Pro Tip: To avoid domed cake tops, you can lightly tap the pans on the counter before baking. This will help release any trapped air and ensure your cakes bake evenly.
Once your cakes are completely cool, you’re ready to move on to the fun part—decorating! Whether you’re frosting the layers or adding special decorations, your baby shower cake is about to come to life. Ready to continue? Let’s move on to the next step!
Pro Tips and Variations for Baby Shower Cake
Now that your cake is baked and cooled, it’s time to elevate it with some tips and variations to make your baby shower cake truly spectacular. Whether you’re looking to add a unique twist or need a little help making your cake perfect, I’ve got you covered.
Pro Tips for a Perfect Cake:
- Room Temperature Ingredients: This is key for getting the perfect texture. Make sure your butter, eggs, and milk are all at room temperature before you start mixing. This helps everything blend together smoothly, resulting in a lighter, fluffier cake.
- Don’t Overmix: When combining the dry ingredients with the wet mixture, stir just until everything is incorporated. Overmixing can lead to a dense, tough cake, and we want ours to be soft and moist!
- Level the Cake Layers: After baking, if the tops of your cakes have domed, you can level them with a serrated knife. This will help your cake layers stack evenly and create a polished, professional look.
- Cake Cooling: Patience is key here! Allow your cakes to cool completely before frosting them. If the cakes are too warm, the frosting will melt and slide off, leaving you with a messy appearance.
Decoration and Flavor Variations:
- Flavor Variations: While this recipe works wonderfully with vanilla, feel free to experiment with other flavors! Swap the vanilla for almond extract for a nutty twist, or incorporate lemon zest for a fresh, citrusy note. You can also fold in chocolate chips or fruit for added flavor and texture.
- Frosting Options: A classic buttercream frosting works beautifully with this cake, but if you want to switch it up, try these alternatives:
- Cream Cheese Frosting: For a tangy twist, cream cheese frosting adds richness and depth that pairs wonderfully with this cake’s sweetness.
Whipped Ganache: For an indulgent touch, a whipped chocolate ganache gives your cake a smooth, luxurious finish.
- Fondant: If you’re going for a smooth, polished look, fondant is a great choice for a flawless cake surface that’s perfect for intricate decorations.
- Cream Cheese Frosting: For a tangy twist, cream cheese frosting adds richness and depth that pairs wonderfully with this cake’s sweetness.
- Fun Decorations: Baby shower cakes are a great opportunity to get creative with your designs! Here are a few ideas:
- Baby-Themed Cake Toppers: Think tiny booties, baby bottles, or onesies made from fondant or edible decorations.
Pastel Colors: Soft pinks, blues, or yellows can add a playful touch and complement any baby shower theme.
- Fresh Flowers: Decorate with edible flowers or sugar flowers for a beautiful and delicate appearance.
- Baby-Themed Cake Toppers: Think tiny booties, baby bottles, or onesies made from fondant or edible decorations.
Cake Assembly Tips:
- Crumb Coat: Before you add the final layer of frosting, apply a thin coat (called a “crumb coat”) to seal in any loose crumbs. Chill the cake for 20 minutes to set the crumb coat, then apply the final layer of frosting for a smooth finish.
- Layering the Cake: If you’ve made multiple layers, use a piping bag to add frosting between each layer. This ensures an even distribution and makes the cake easier to cut without the layers sliding apart.
- Decorating Tips: Use piping tools to add decorative borders, rosettes, or intricate designs. If you’re not confident with piping, simple designs like swirls or a smooth finish with sprinkles will still look fabulous.
By following these tips and making a few personal adjustments, you can create a baby shower cake that’s truly one-of-a-kind. Whether you stick with the classic style or get adventurous with flavors and decorations, the end result will be a beautiful centerpiece that leaves everyone asking for a slice (or two)!
Serving Suggestions for Baby Shower Cake
After all your hard work, it’s time to enjoy the fruits of your labor! A well-decorated baby shower cake deserves to be served in style. Here are some creative serving suggestions to ensure your cake is as impressive when it’s time to slice as it was when it was first decorated.
Presentation is Key:
- Cake Stand: Elevate your cake on a beautiful cake stand for an elegant display. The height adds drama and gives your cake the attention it deserves. If you don’t have a cake stand, a decorative platter or even a large, clean plate can work perfectly.
- Dessert Table: If you’re hosting a full baby shower spread, consider placing your cake on a themed dessert table with coordinating treats like cupcakes, cookies, or macaroons. This creates a cohesive look and makes for stunning photos!
- Serving Size: Depending on your guest list, you might want to adjust the size of your slices. If you’re serving a large crowd, consider cutting smaller slices to ensure everyone gets a taste. A 9-inch cake typically serves about 12-16 people, but cutting thinner slices or offering cupcakes alongside can stretch it further.
Pairing with Beverages:
- Coffee or Tea: A warm cup of coffee or tea pairs wonderfully with cake. If you’re hosting a more formal baby shower, offer a variety of teas and coffee options alongside the cake for an added touch of elegance.
- Milk: Don’t forget the classic pairing—milk! A glass of cold milk is always a crowd-pleaser when it comes to serving cake, especially for a baby shower with lots of little ones.
Creative Garnishes:
- Fresh Fruit: Lighten up your cake with fresh berries or fruit slices. Strawberries, raspberries, or even sliced kiwis work beautifully as a fresh garnish that complements the sweetness of the cake.
- Edible Flowers: Add a pop of color and elegance with edible flowers like pansies or violets. They’re not only beautiful but also safe to eat, making them perfect for cake decorating.
- Sprinkles: A handful of sprinkles can instantly transform your cake into a festive showpiece. Go for pastel-colored sprinkles, sugar pearls, or even shaped confetti to match your baby shower theme.
Serving for Different Occasions:
- Baby Shower Cake Cutting Ceremony: If your event includes a formal cake-cutting moment, be sure to have a beautiful knife ready for the big moment. A vintage or themed cake knife can add a special touch to this key part of the celebration.
- Mini Cake Versions: If you’re looking to add more variety or make it easier for guests to serve themselves, consider turning your cake into mini versions. Cupcakes, mini layered cakes, or even cake pops are all great alternatives for serving individual portions.
Make It Interactive:
- DIY Cake Bar: Set up a DIY cake bar where guests can personalize their slices. Offer a variety of toppings like whipped cream, fresh fruit, chocolate chips, or nuts so everyone can add their own special twist.
By thinking about how you present and serve your baby shower cake, you can elevate the experience for your guests. Whether you keep it simple or go all out with elaborate garnishes and pairings, the goal is to make every moment memorable. Ready to serve up some sweetness? Your cake is sure to be the highlight of the celebration!
Conclusion
Congratulations! You’ve just created a baby shower cake that will not only wow your guests but also become a sweet, unforgettable part of the celebration. From the moist cake layers to the beautiful decorations, this recipe ensures that you can enjoy both the process and the final result. Here’s why this cake is a showstopper:
- Perfect for Any Baby Shower Theme: Whether you’re having a traditional pink or blue shower, or something more modern with vibrant colors, this cake can be customized to fit any theme. With simple decorating tips and flavor variations, it’s as versatile as it is delicious.
- A Sweet Memory: This cake isn’t just about taste—it’s about creating moments. When everyone gathers around to cut the cake and celebrate, the cake becomes part of the shared experience. It’s more than a dessert; it’s a memory in the making.
- Easy Yet Impressive: The recipe is designed to be approachable for bakers of all levels, with straightforward instructions and helpful tips. Whether you’re a seasoned baker or a beginner, you’ll feel confident in creating this beautiful cake.
With just a few ingredients, a little creativity, and a lot of love, you’ve made something truly special. We hope this baby shower cake becomes a cherished part of your event and a go-to recipe for future celebrations. Don’t forget to take plenty of pictures to capture those sweet moments—after all, a cake like this deserves to be remembered!
Happy baking, and enjoy your celebration!
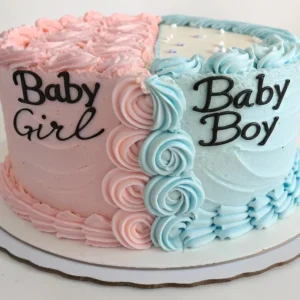
Baby Shower Cake
Ingredients
● 2 ½ cups all-purpose flour
● 1 ½ cups granulated sugar
● 2 ½ teaspoons baking powder
● 1 teaspoon salt
● 1 cup unsalted butter (room temperature)
● 4 large eggs
● 1 tablespoon vanilla extract
● 1 cup whole milk
● Food coloring (optional)
● Buttercream frosting (recipe follows)
Instructions
1.Preheat the Oven
- Start by preheating your oven to 350°F (175°C). This ensures the oven reaches the ideal temperature, allowing the cake to bake evenly when you’re ready to put it in.
2.Prepare Your Cake Pans
- Grease and flour two 9-inch round cake pans. If you want to ensure your cake comes out perfectly without sticking, you can also line the bottoms of the pans with parchment paper. This small step makes a big difference in the ease of removing the cakes later.
3.Mix the Dry Ingredients
- In a large bowl, combine the flour, baking powder, and salt, whisking them together. This helps to evenly distribute the leavening agents and prevents clumps in your batter. Set this dry mixture aside.
4.Cream the Butter and Sugar
- In another large bowl, beat the softened butter and sugar together using a hand mixer or stand mixer on medium speed. Continue mixing for 3-4 minutes, until the mixture becomes light and fluffy. This step is key to achieving a light and fluffy texture in your cake!
5.Add the Eggs and Vanilla
- Add the eggs one at a time, making sure each egg is fully blended before adding the next. Stir in the vanilla extract. The eggs help bind everything together, and the vanilla adds that warm, inviting flavor we all love.
6.Alternate Adding the Dry Ingredients and Milk
- Slowly incorporate the dry ingredients into the butter mixture, alternating with the milk. Start with a third of the dry ingredients, then pour in half of the milk. Continue alternating until everything is mixed in, finishing with the dry ingredients. Be careful not to overmix—stir just until everything is fully combined.
7.Add Food Coloring (Optional)
- If you’re going for a colorful look, now’s the time to add a few drops of food coloring. Gently mix until the batter reaches the desired shade. This step is perfect for coordinating with your baby shower theme!
8.Bake the Cake
- Distribute the batter evenly between the prepared cake pans. Use a spatula to smooth the top of each layer. Place the pans in the preheated oven and bake for 25-30 minutes. Check for doneness by inserting a toothpick into the center of the cakes—if it comes out clean or with a few crumbs, your cakes are ready!
9.Cool the Cakes
- Let the cakes cool in the pans for 10 minutes before carefully transferring them to a wire rack. This cooling period helps the cakes set and prevents them from breaking apart.
Notes
- Calories: 350
- Fat: 18g
- Saturated Fat: 10g
- Cholesterol: 65mg
- Sodium: 170mg
- Carbohydrates: 45g
- Fiber: 1g
- Sugar: 35g
- Protein: 3g
- Vitamin A: 10% DV
- Calcium: 2% DV
FAQs
To help make your baby shower cake experience as smooth as possible, I’ve gathered some frequently asked questions. Whether you’re new to baking or just want a few extra tips, these answers will guide you toward cake perfection.
1. Can I make this cake ahead of time?
Absolutely! This cake can be baked a day or two in advance. Simply store the cooled cake layers in an airtight container at room temperature or refrigerate them if you prefer. When you’re ready to assemble, bring the cakes to room temperature before frosting to ensure the frosting sets properly.
2. How can I make the cake more moist?
If you want an extra-moist cake, you can substitute some of the milk with sour cream or buttermilk. These ingredients help create a richer, denser texture that’s still incredibly soft and flavorful. Another tip is to avoid overbaking—check your cake with a toothpick about 5 minutes before the recommended time to ensure it’s perfectly baked.
3. How do I avoid the frosting melting off the cake?
To keep your frosting from melting, make sure your cakes are completely cool before frosting. If you’re using buttercream or cream cheese frosting, it helps to chill the cake for 10-15 minutes after applying the first layer of frosting (the crumb coat). This creates a base layer that seals in the crumbs and allows the final frosting to set without sliding off.
4. Can I use a different type of frosting?
Yes! While buttercream is classic and delicious, you can also try cream cheese frosting for a tangy flavor, or whipped ganache for a decadent, smooth texture. Just make sure that whatever frosting you use complements the flavor of your cake—chocolate ganache, for example, pairs wonderfully with a vanilla or chocolate cake base.
5. How do I make the cake look professional without fancy tools?
You don’t need to be a pro to make your cake look stunning! Here are a few simple tricks:
Smooth Finish: Use an offset spatula to smooth the frosting. If you don’t have one, a regular butter knife works just fine.
Piping: Even without intricate piping skills, you can still create beautiful decorations like rosettes or borders with a simple piping bag and a star tip.
Sprinkles and Edible Flowers: Decorate with sprinkles, edible glitter, or fresh flowers for a polished look that requires minimal effort.
6. How do I store leftover cake?
To store leftover cake, wrap it tightly in plastic wrap or place it in an airtight container. If you’ve already frosted it, it’s best to refrigerate it to keep the frosting fresh. Leftover cake should last 3-4 days in the fridge, or you can freeze it for longer storage—just be sure to wrap it well!
7. What if I don’t have 9-inch pans?
No problem! You can use other sizes of cake pans, though the baking time will vary. For smaller pans (like 8-inch), check for doneness 5 minutes earlier than the recipe suggests. If you use larger pans, your cake may bake a little faster, so keep an eye on it.

